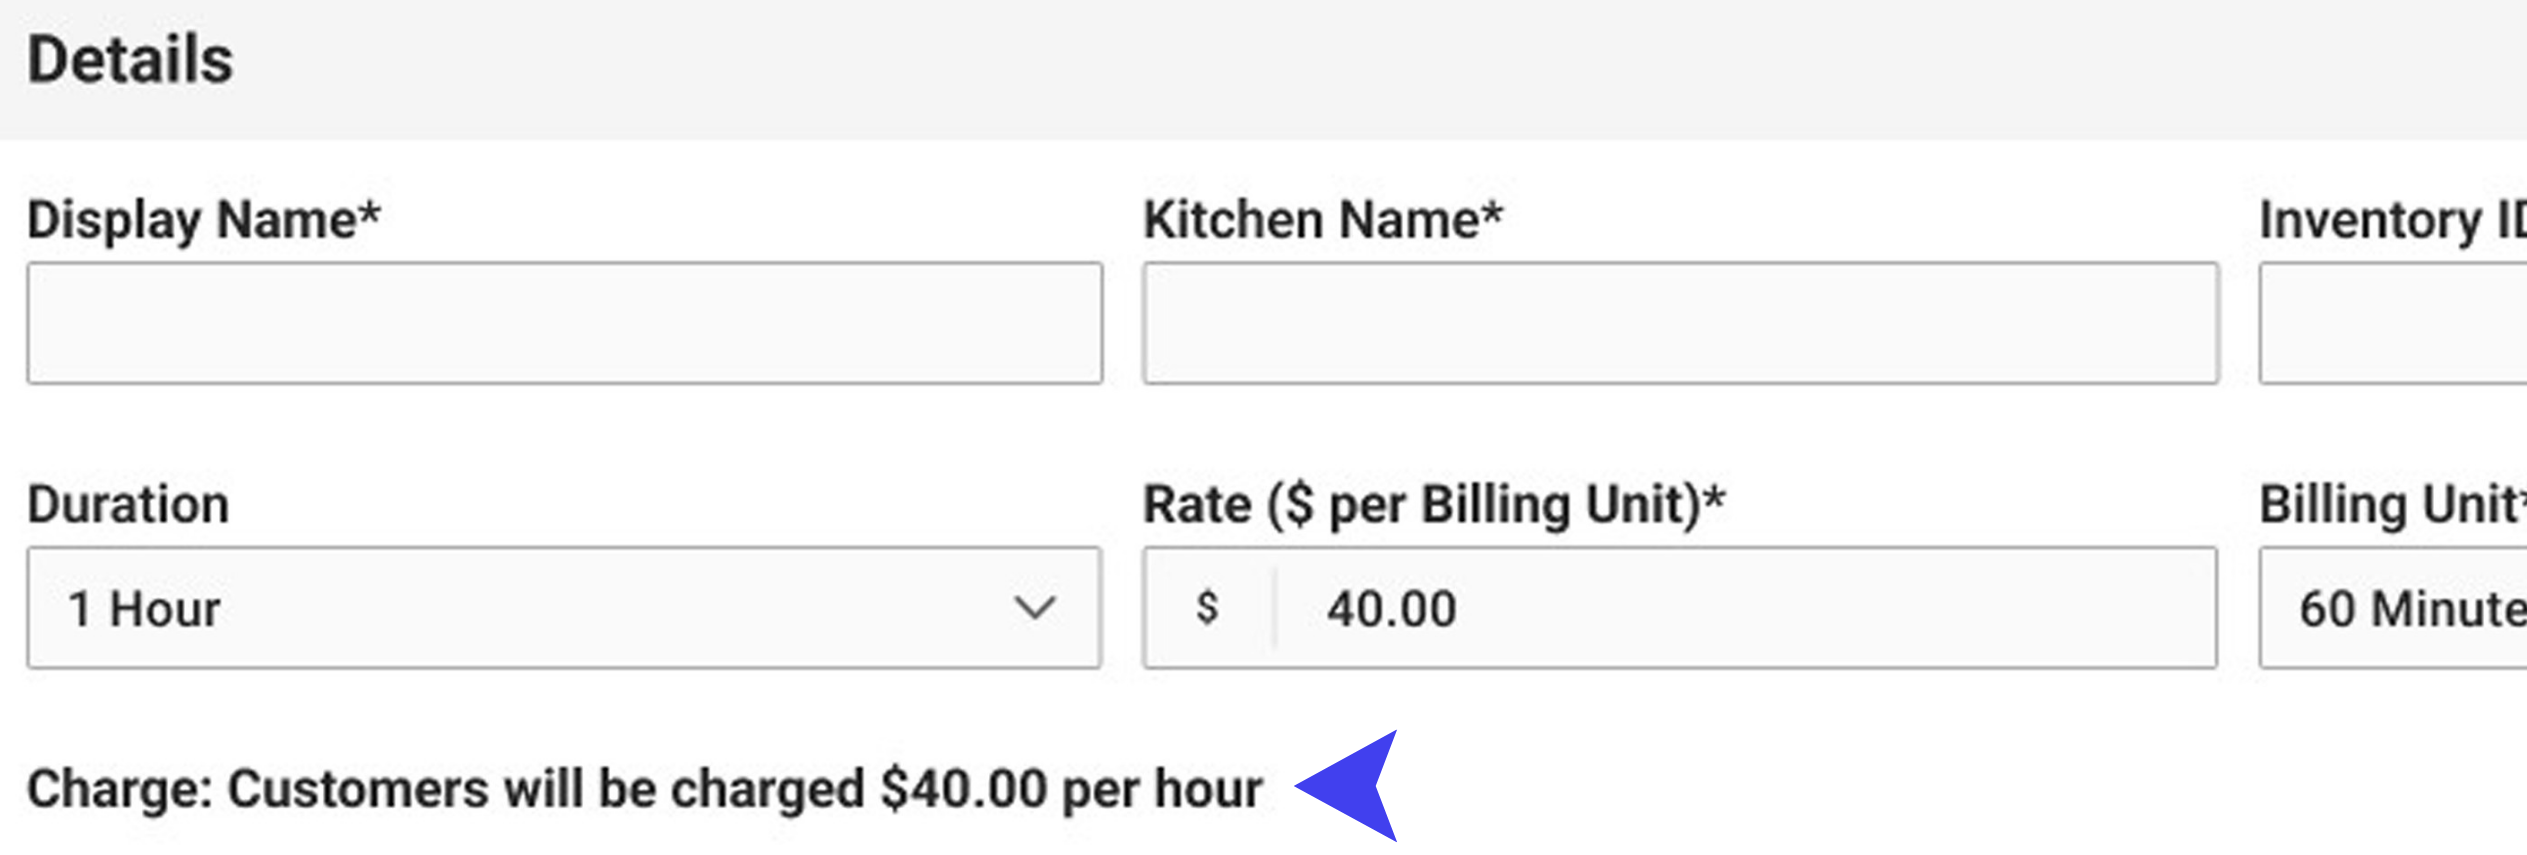
Guests see it too.
A running timer right on their tab, so there's never a surprise at close-out.
- → The same clock your staff see, right on the guest's tab in Union Mobile.
- → Guests can't close out from their phone mid-session. Union Mobile sends them to a server to end the timer first.
- → The timer line reads the same on the check, Pay-at-Table, and the receipt.
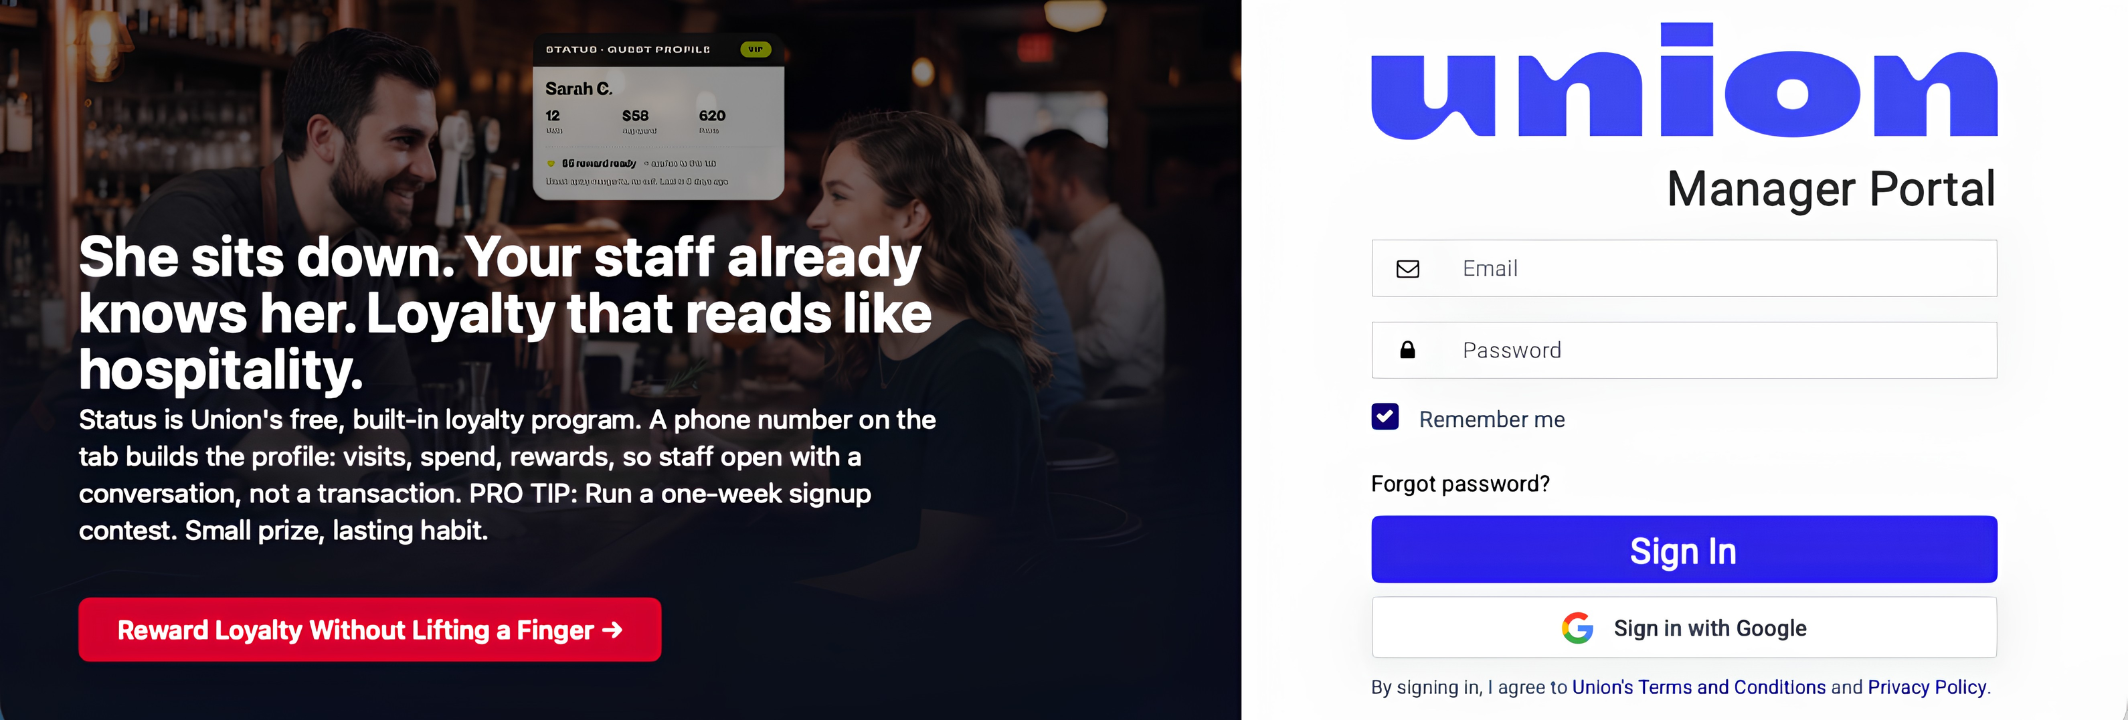
Go to Item Management
Open Item Management, then Add New and select Timer as the item type.
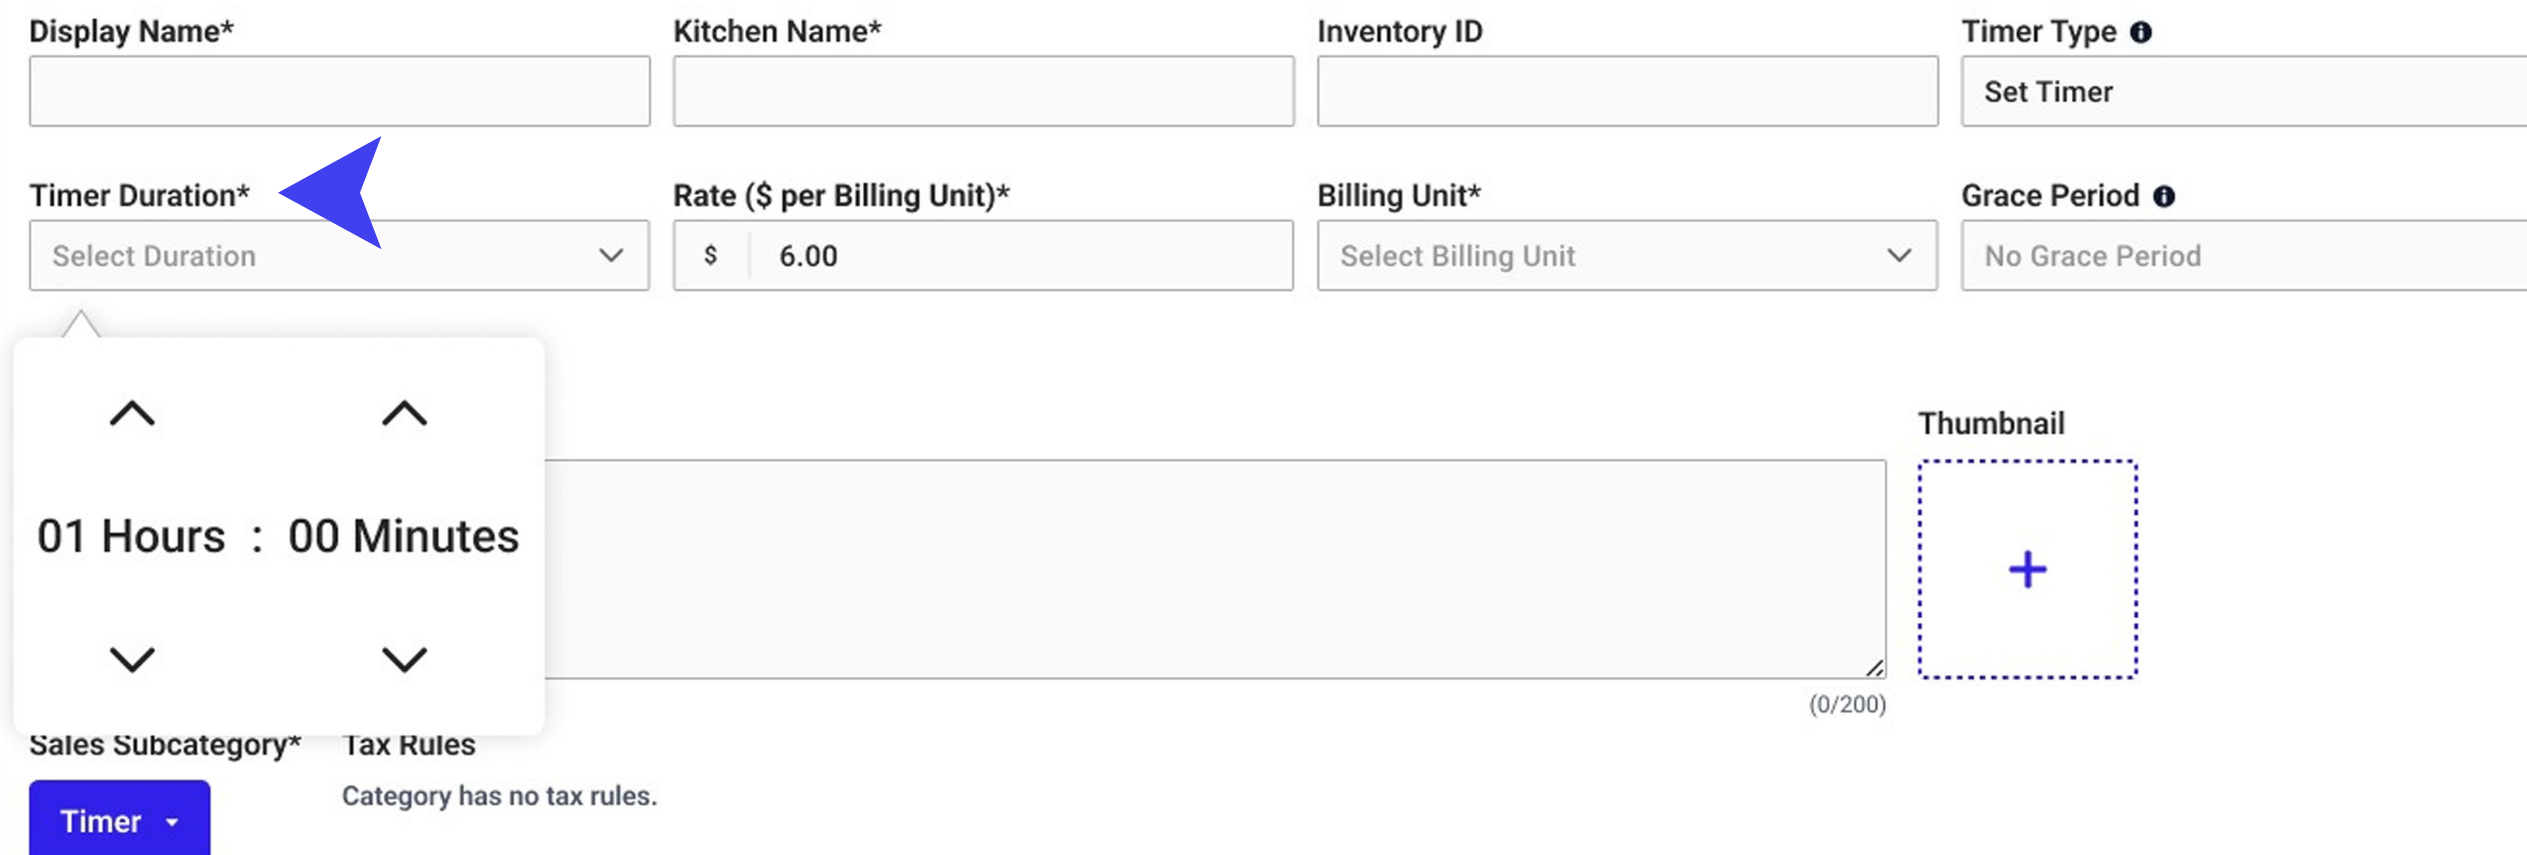
Name it and choose Open or Set
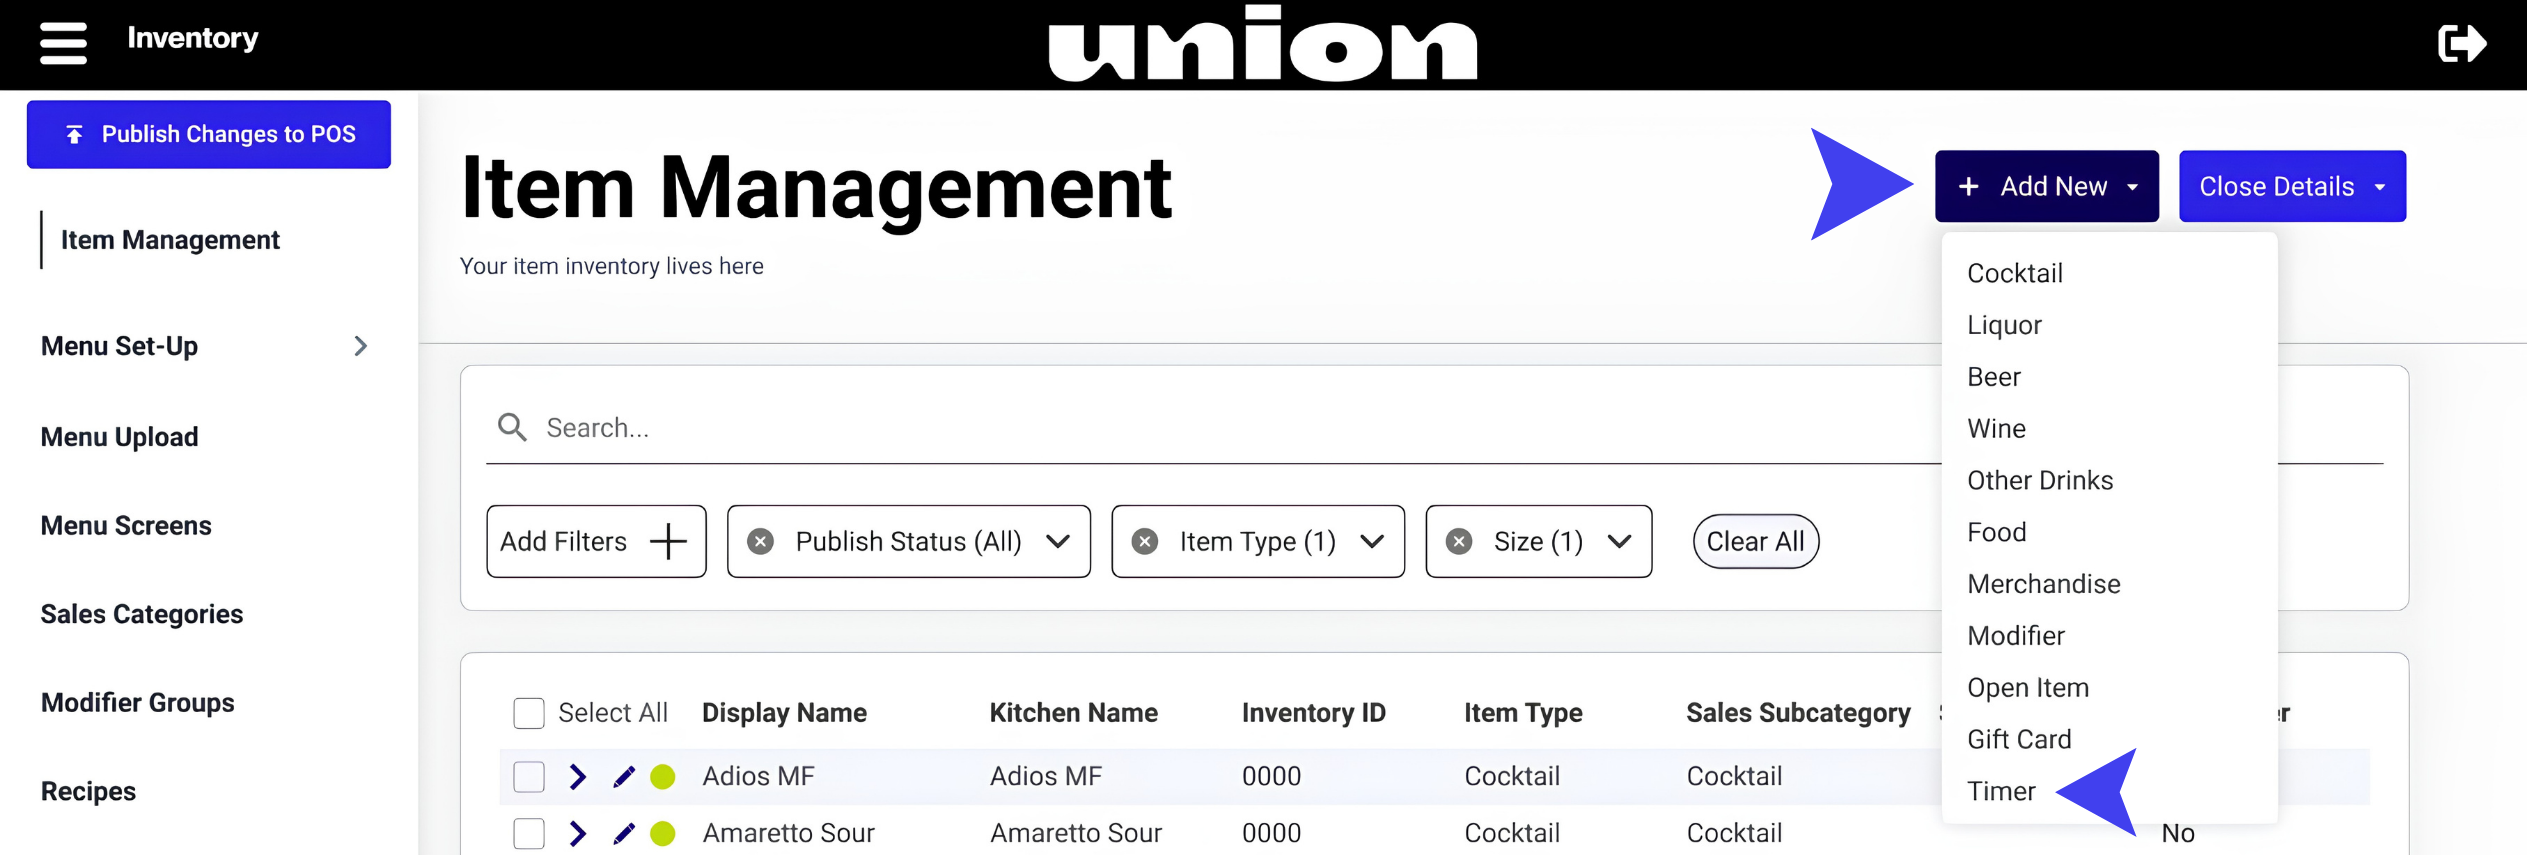
Give it a display name and a Sales Subcategory, then pick a Timer Type. This choice is permanent, so match it to how the activity is actually billed.
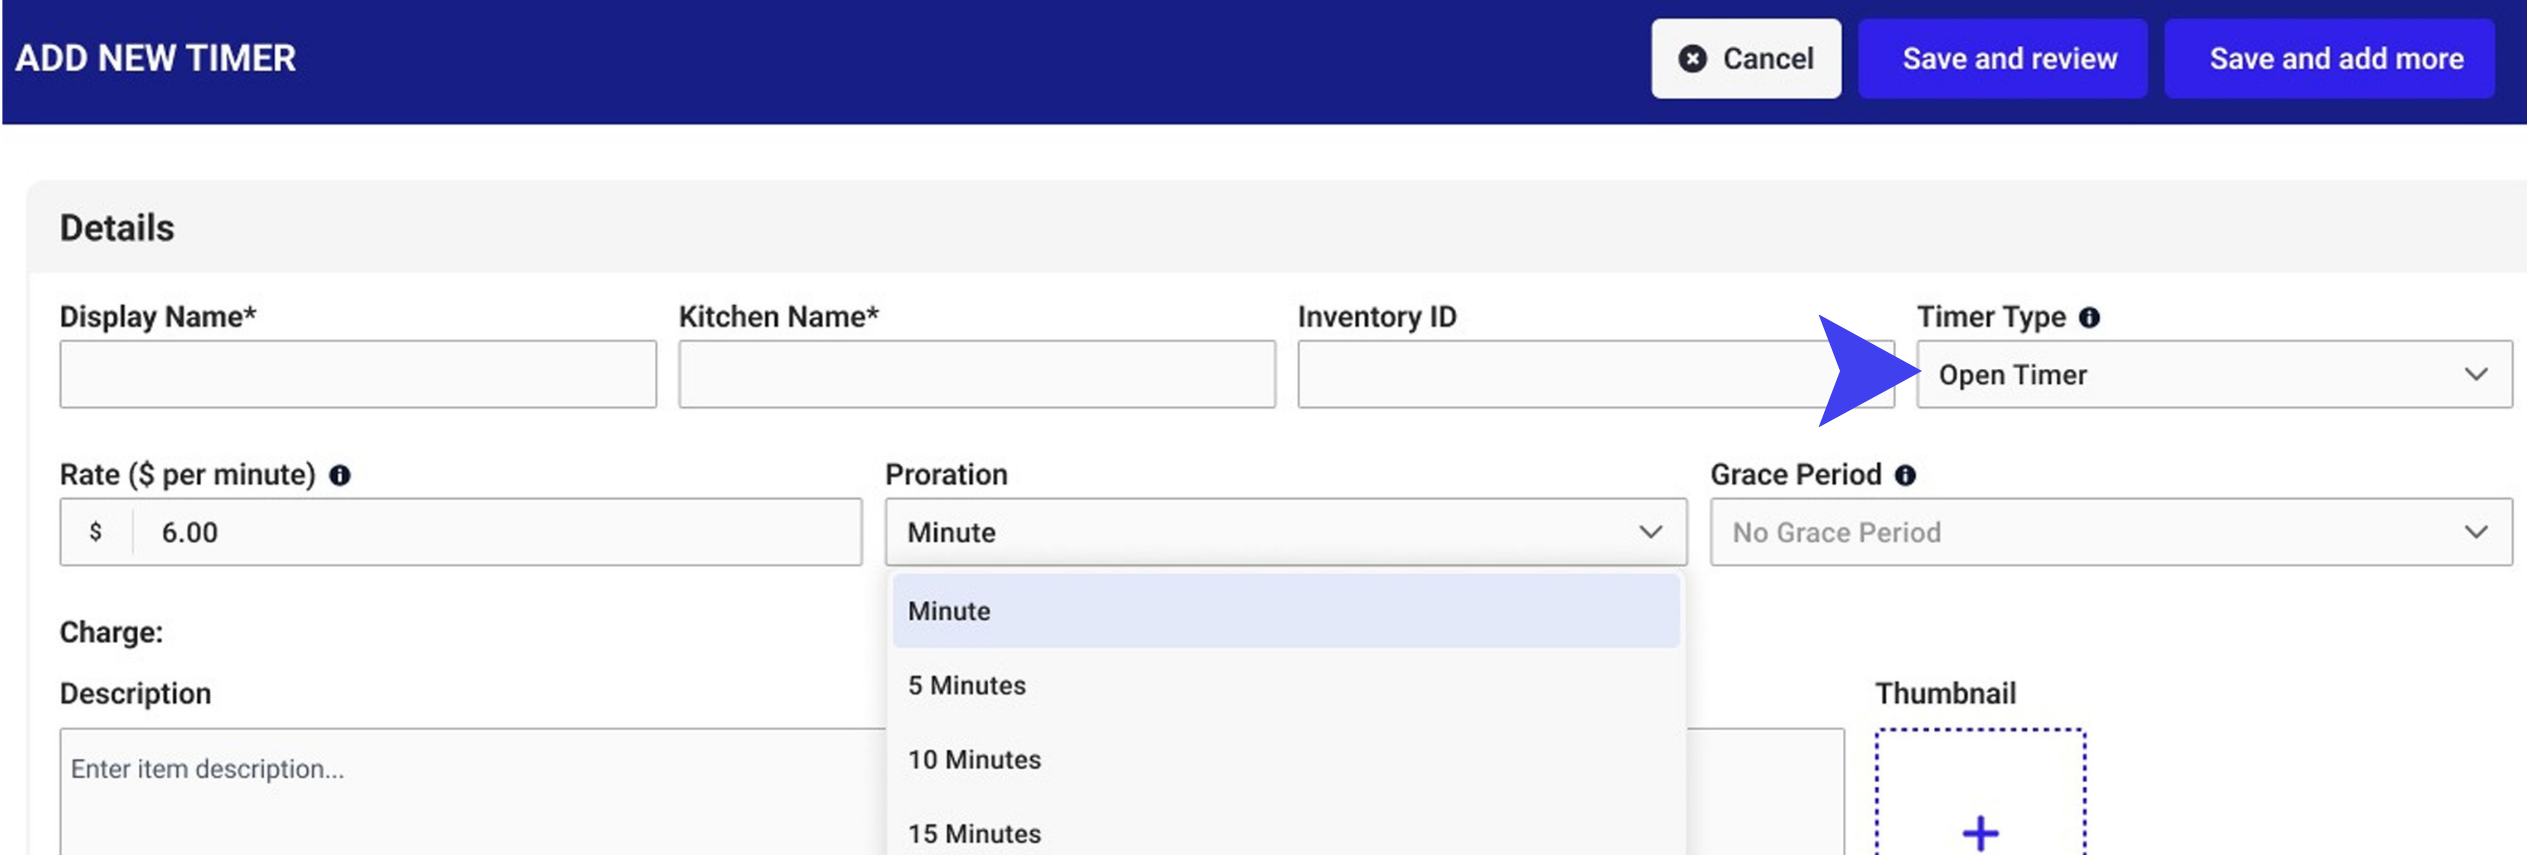
Set your rate, billing unit, and rounding
Rate: the dollar amount charged per minute (Open) or per session (Set).
Billing unit: fixed at 1 minute for Open Timers, or a dropdown for Set Timers.
Proration: Open Timers only, choose how the final charge rounds.
Add a grace period
Optional. Gives guests 1 to 10 free minutes before billing starts, so there's no charge for the time it takes to settle in.
Skip this if the activity should start billing the moment the timer is started.
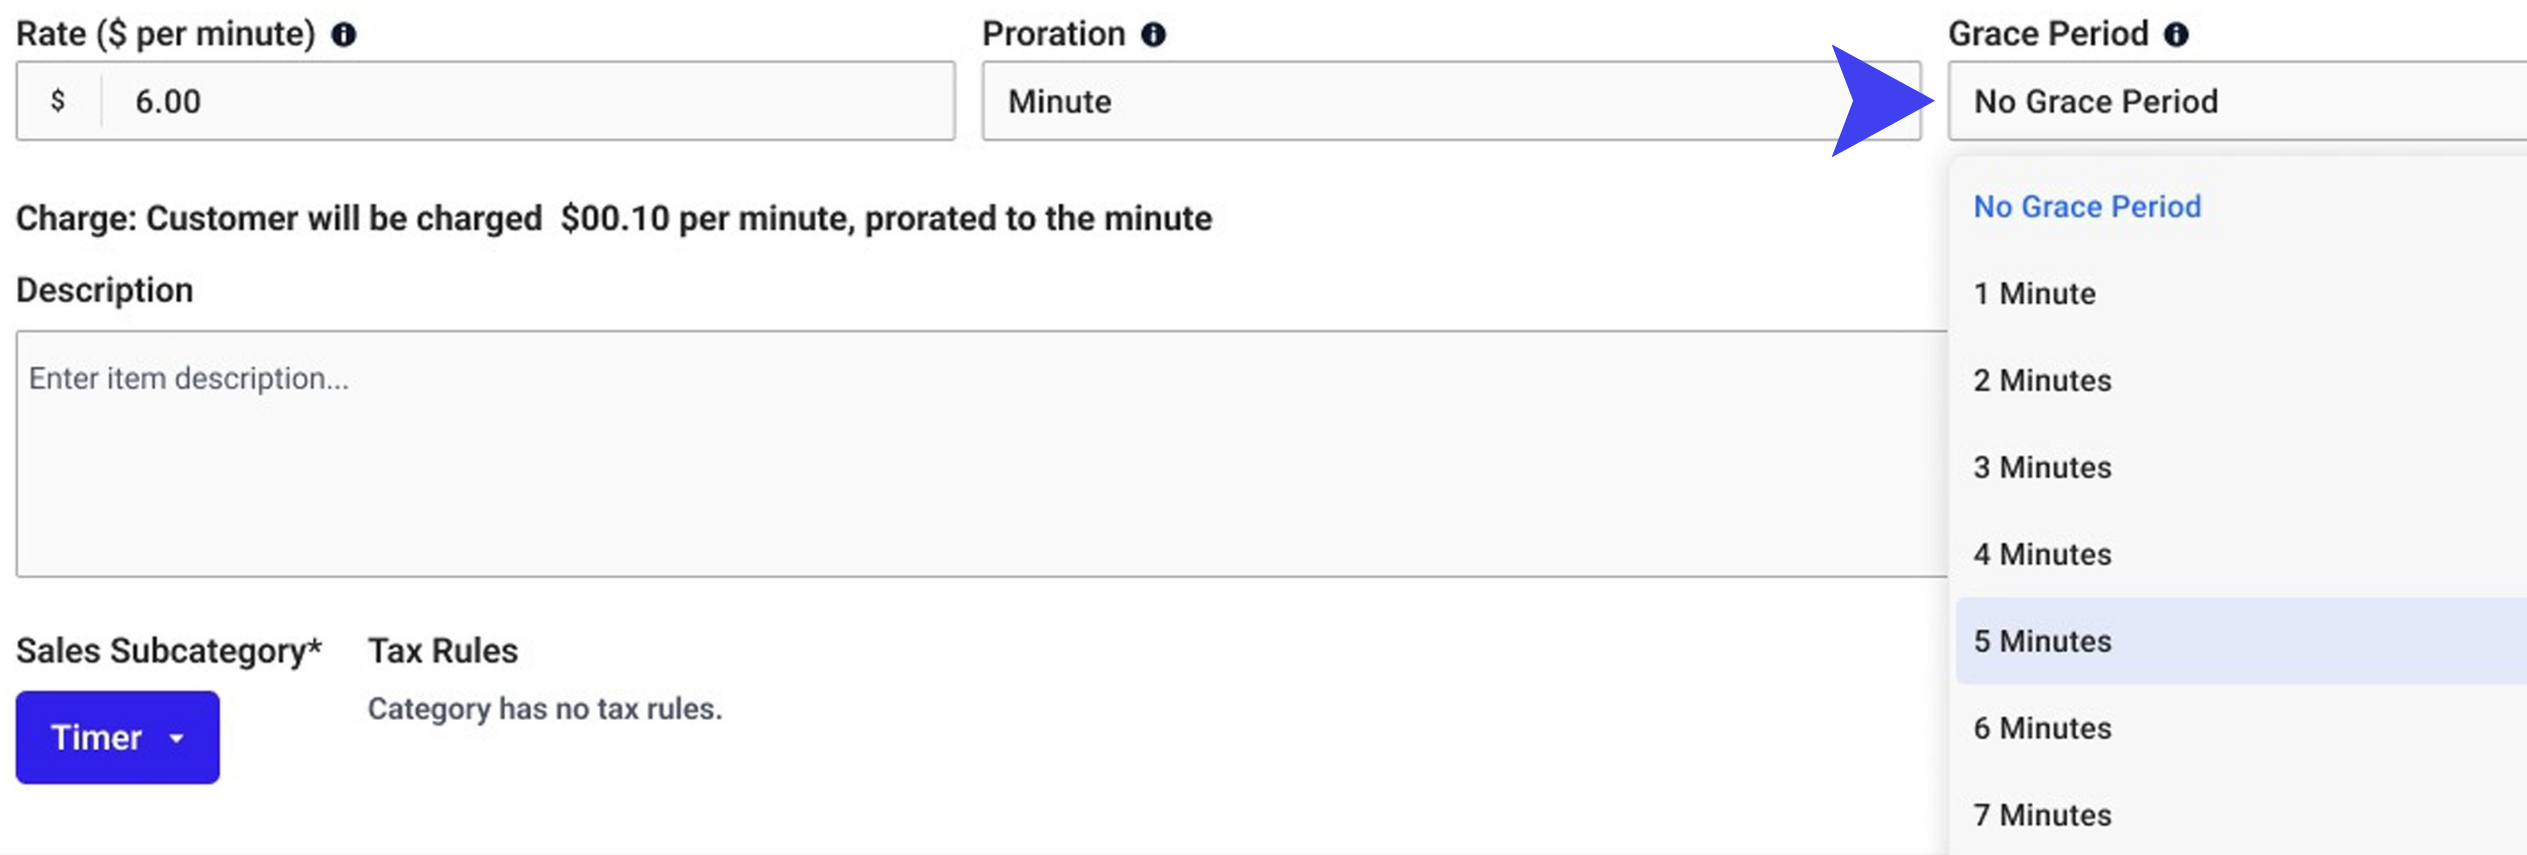
Check the Charge summary, then publish
Confirm the plain English Charge preview matches what you intend to bill, then select Save and Publish to the POS.
Staff see the new item, and the Timers screen, right away. Nothing else to configure.