TIMERS:
BILL BY THE MINUTE,
AUTOMATICALLY

About Timers

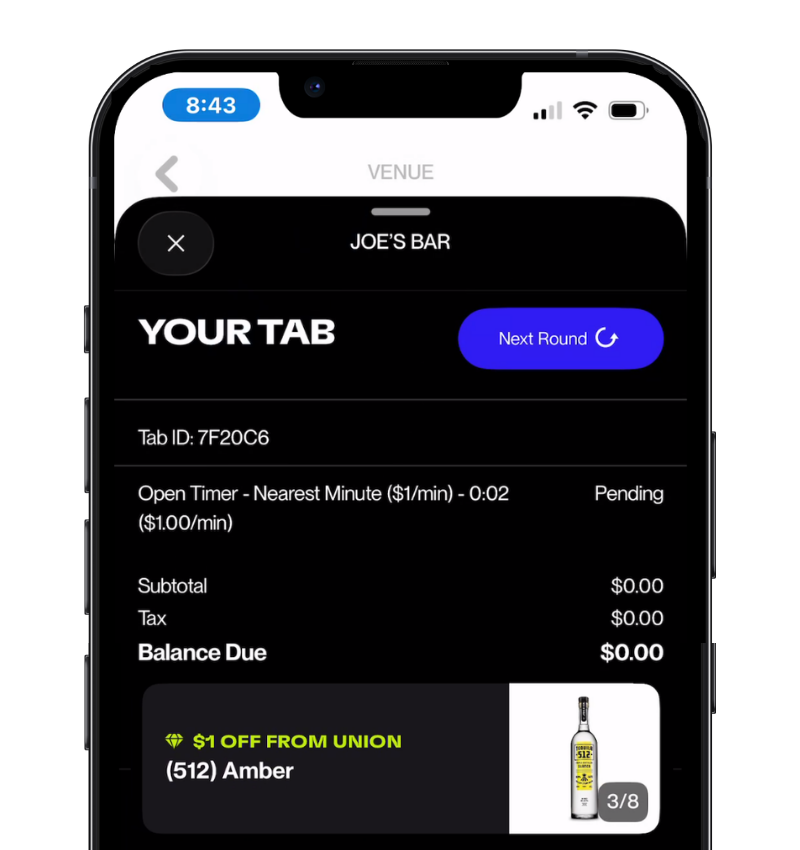
Timers are Union's built-in solution for anything billed by the clock: pool tables, karaoke rooms, pickleball courts, private bays, game consoles, etc. Add a timer as an item, start it at check-in, and Union tracks the time and calculates the charge automatically. No stopwatch. No manual entry.

Product Walkthrough

Watch this quick walkthrough to see how Open and Set timers run on the POS, from starting the clock to the charge landing on the check automatically.

Watch in Wistia →
How It Works

Pick the timer that matches how you bill.

Open Timer

  • Counts up, staff end it manually
  • Best for pool tables, walk-up karaoke, open-ended bays
  • Rounds to the nearest 1, 5, 10, 15, 30, or 60 minutes, your choice

Set Timer

  • Counts down, ends itself automatically
  • Best for fixed blocks, like a 30 minute room or a 15 minute bay
  • Charge is locked in up front, no partial credit

Grace Period

Either type can include a few free minutes before billing starts, for the guest settling in. Optional, and skipped by default.

  • Add it to a check like any other item, then tap Start Timer.
  • Live on the table layout and check tiles, so staff see what's running at a glance.
  • A Set Timer turns orange, then red, as time runs low.
  • The Timers screen lists every timer venue wide, filterable by employee or status.
  • Ending a timer locks in the charge automatically.
Get Started
1

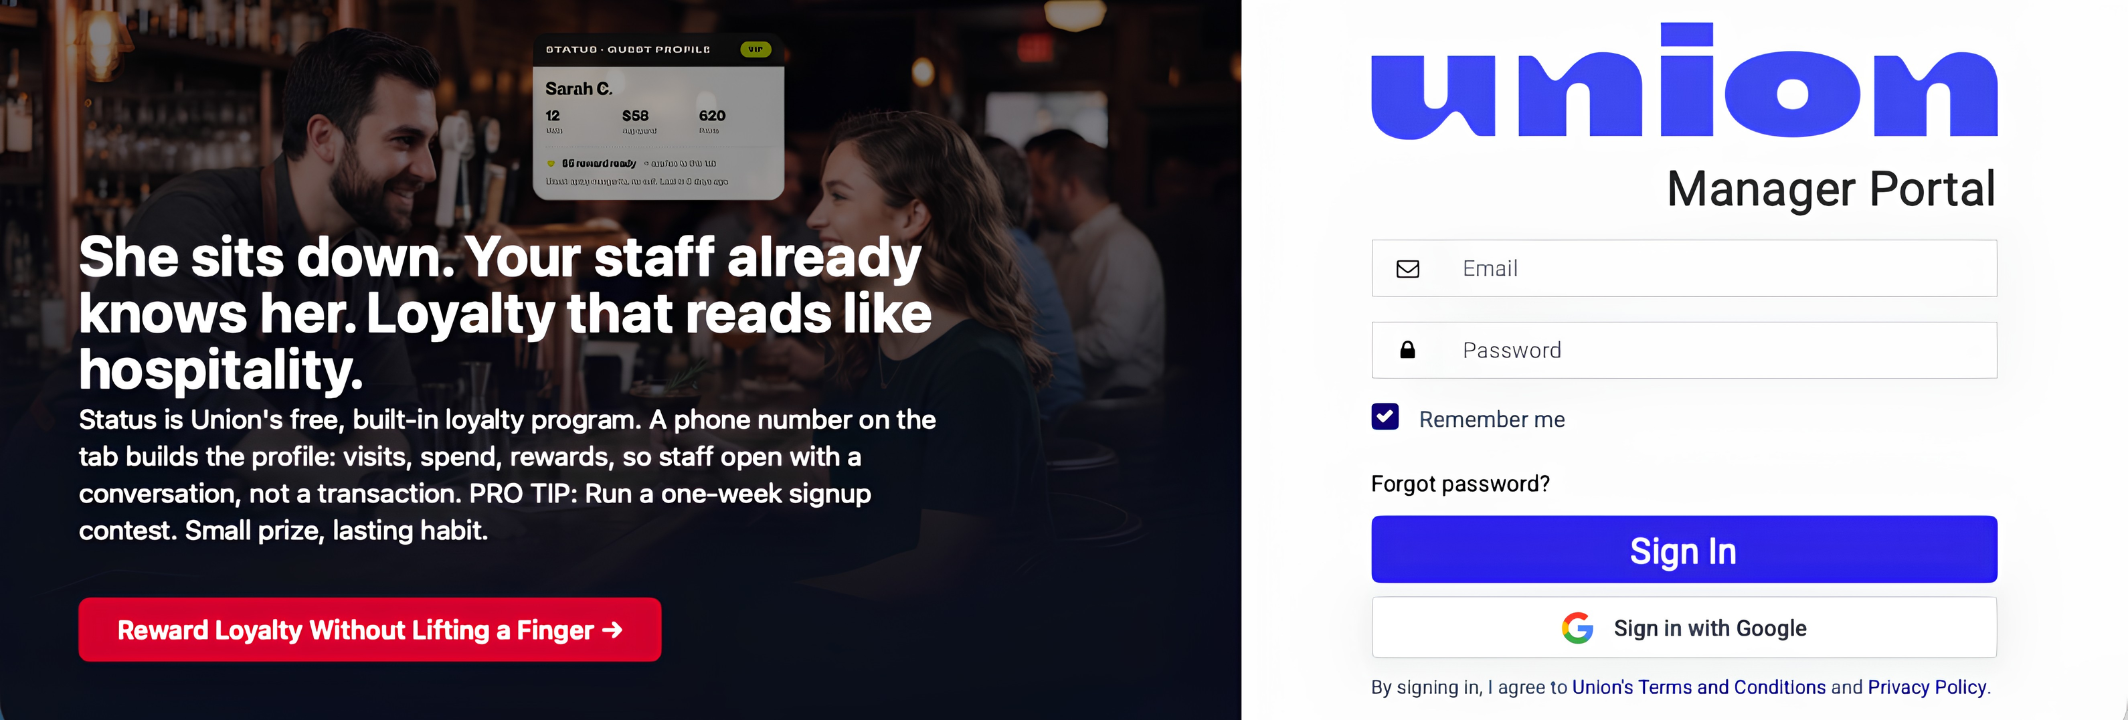
Log into your Manager Portal

manager.union-pos.com/login

Manager Portal login screen
2

Go to Item Management

Open Item Management, then Add New and select Timer as the item type.
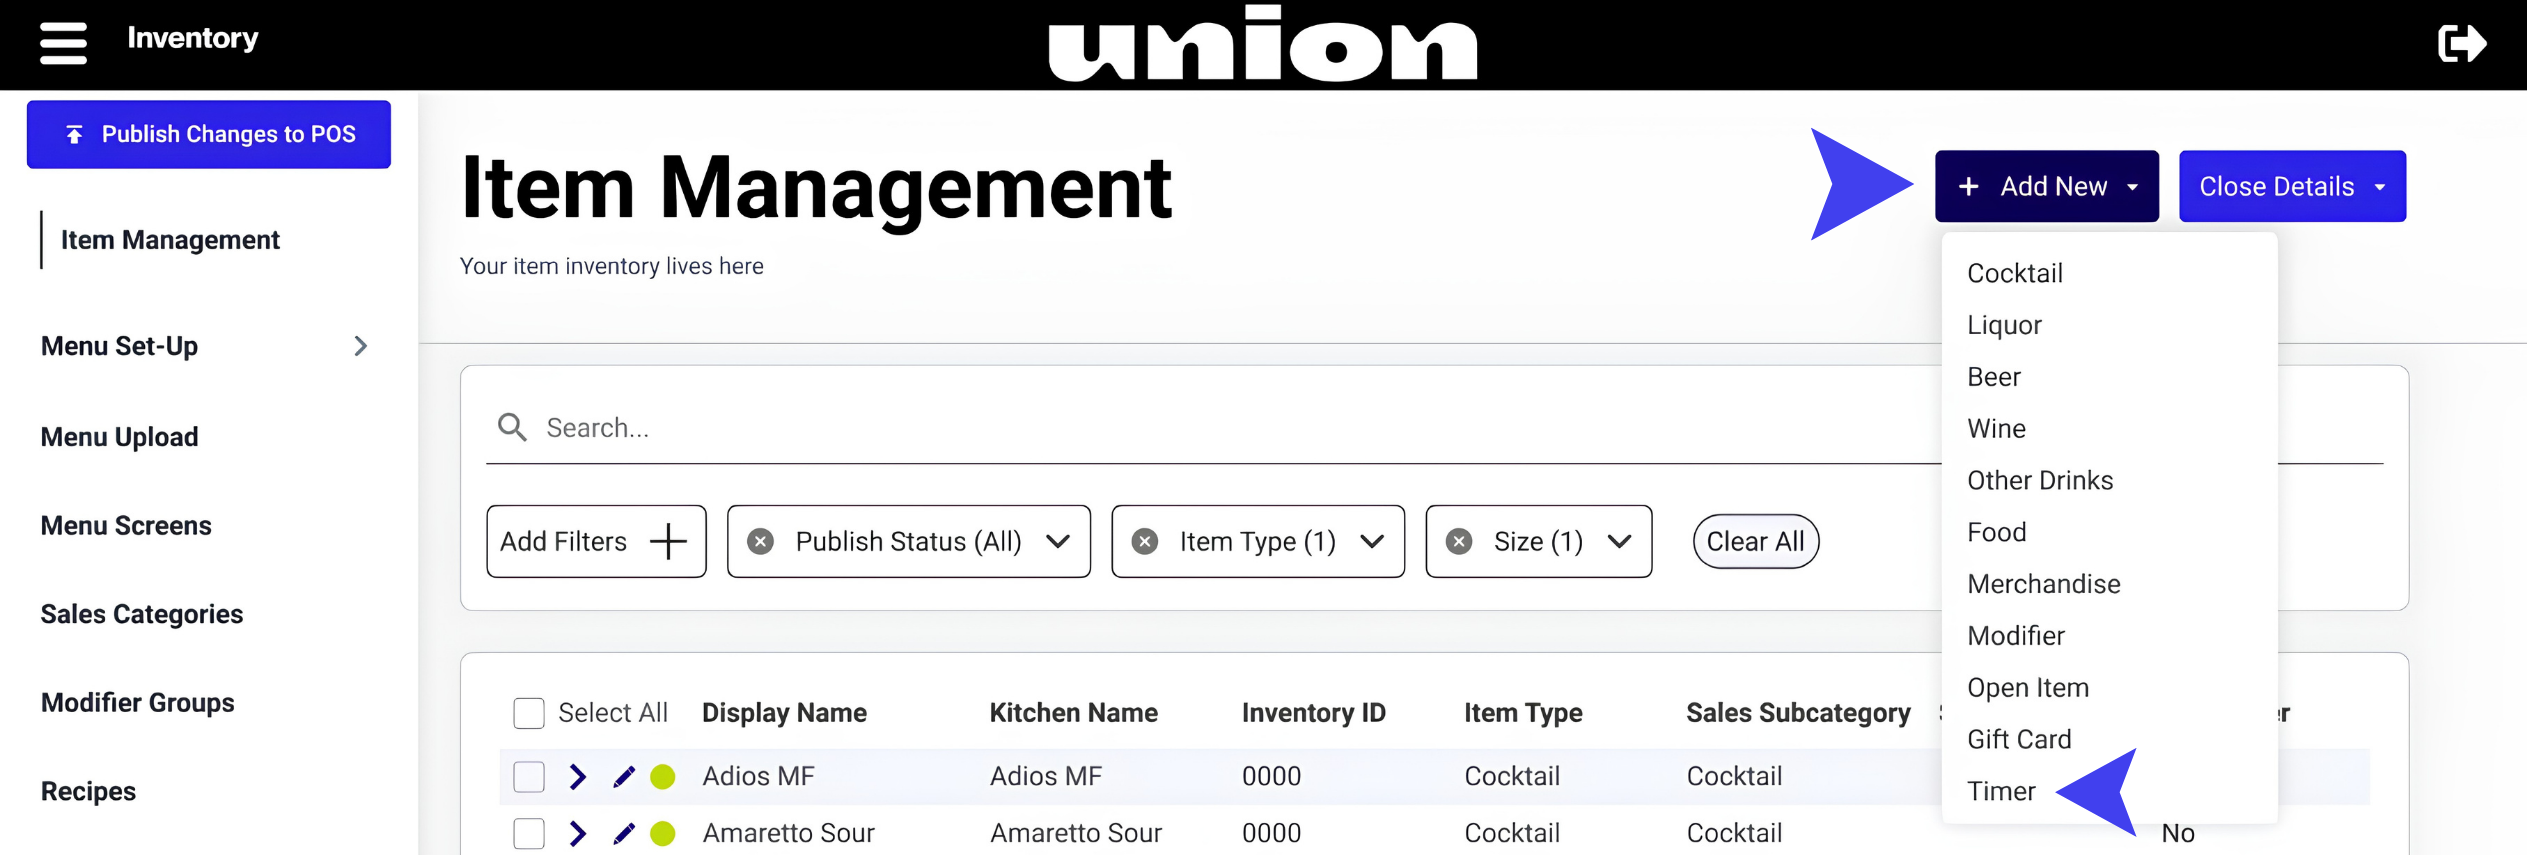
Item Management, Add New Timer item
3

Name it and choose Open or Set

Give it a display name and a Sales Subcategory, then pick a Timer Type. This choice is permanent, so match it to how the activity is actually billed.
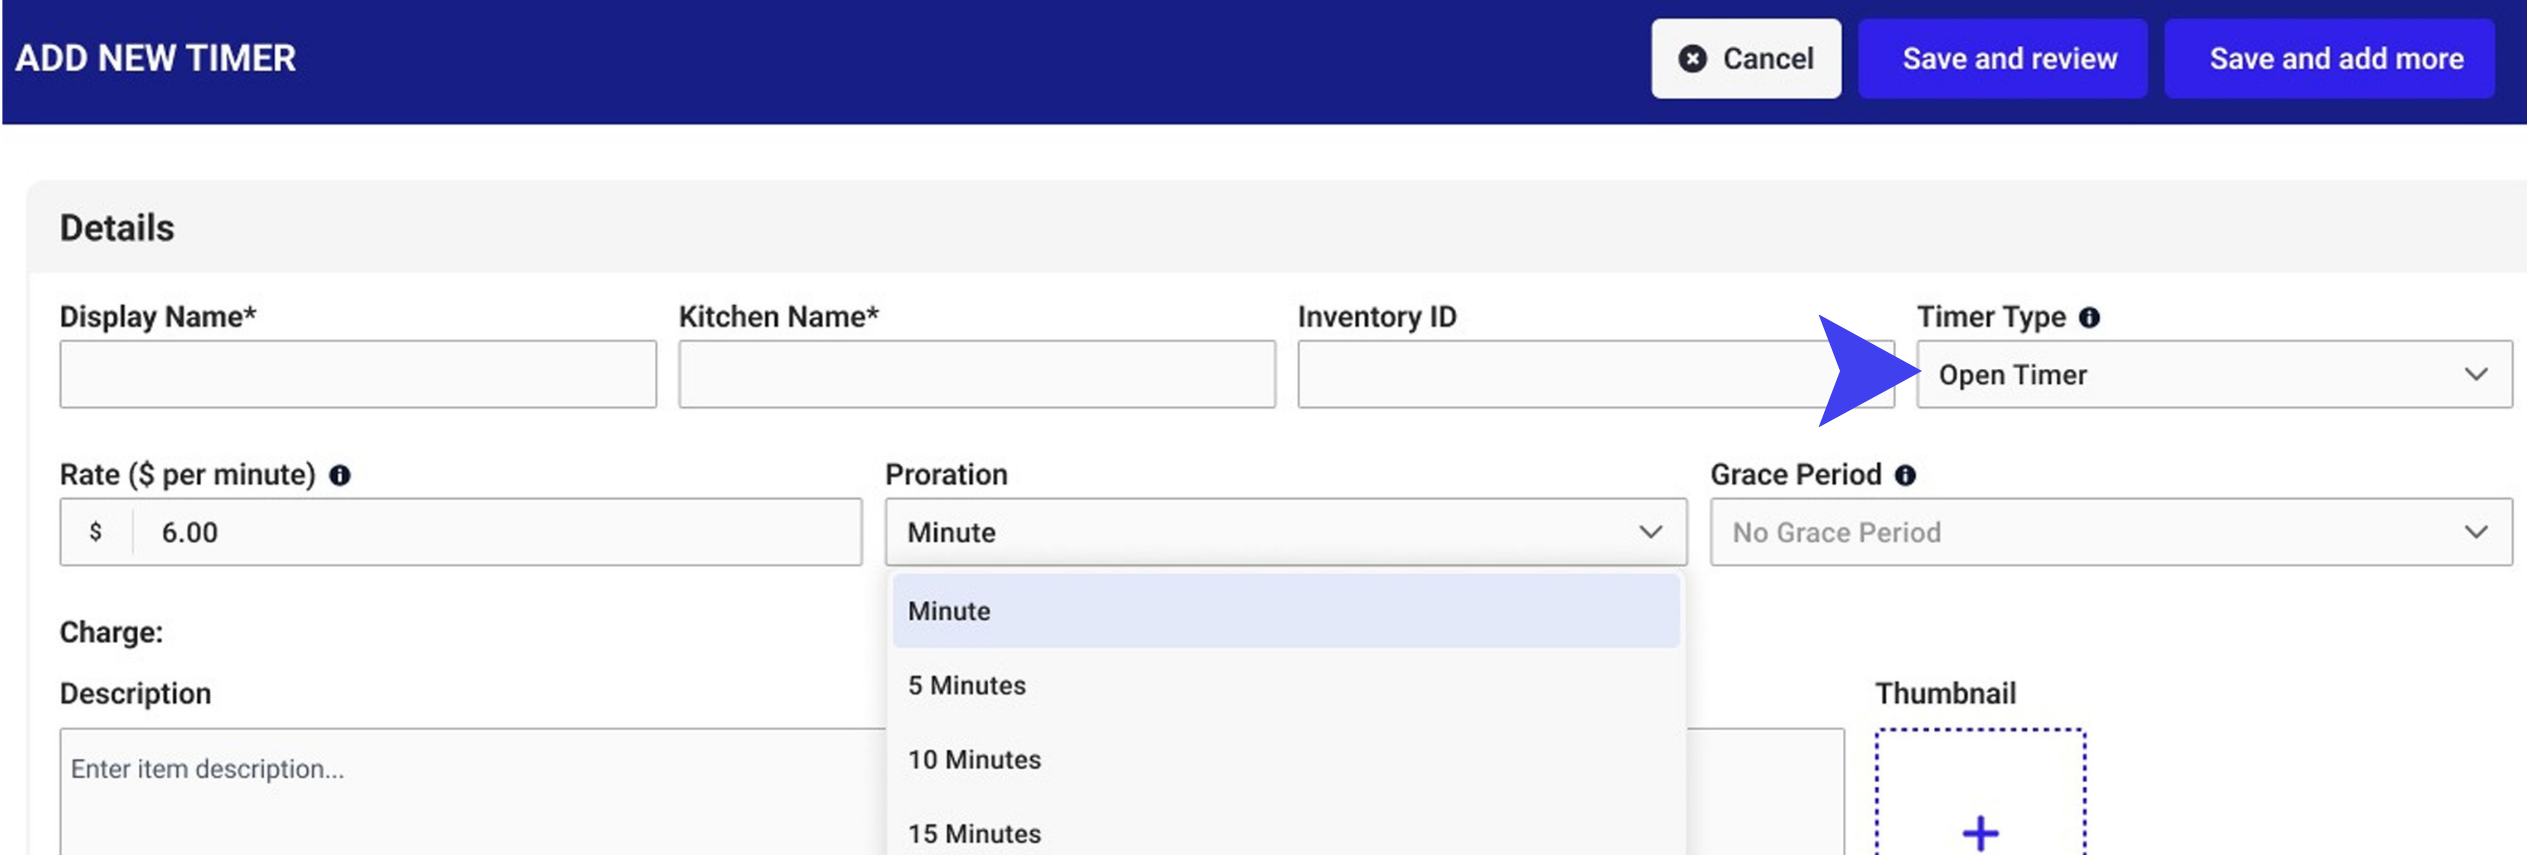
Timer Type dropdown, Open or Set
4

Set your rate, billing unit, and rounding

Rate: the dollar amount charged per minute (Open) or per session (Set).

Billing unit: fixed at 1 minute for Open Timers, or a dropdown for Set Timers.

Proration: Open Timers only, choose how the final charge rounds.
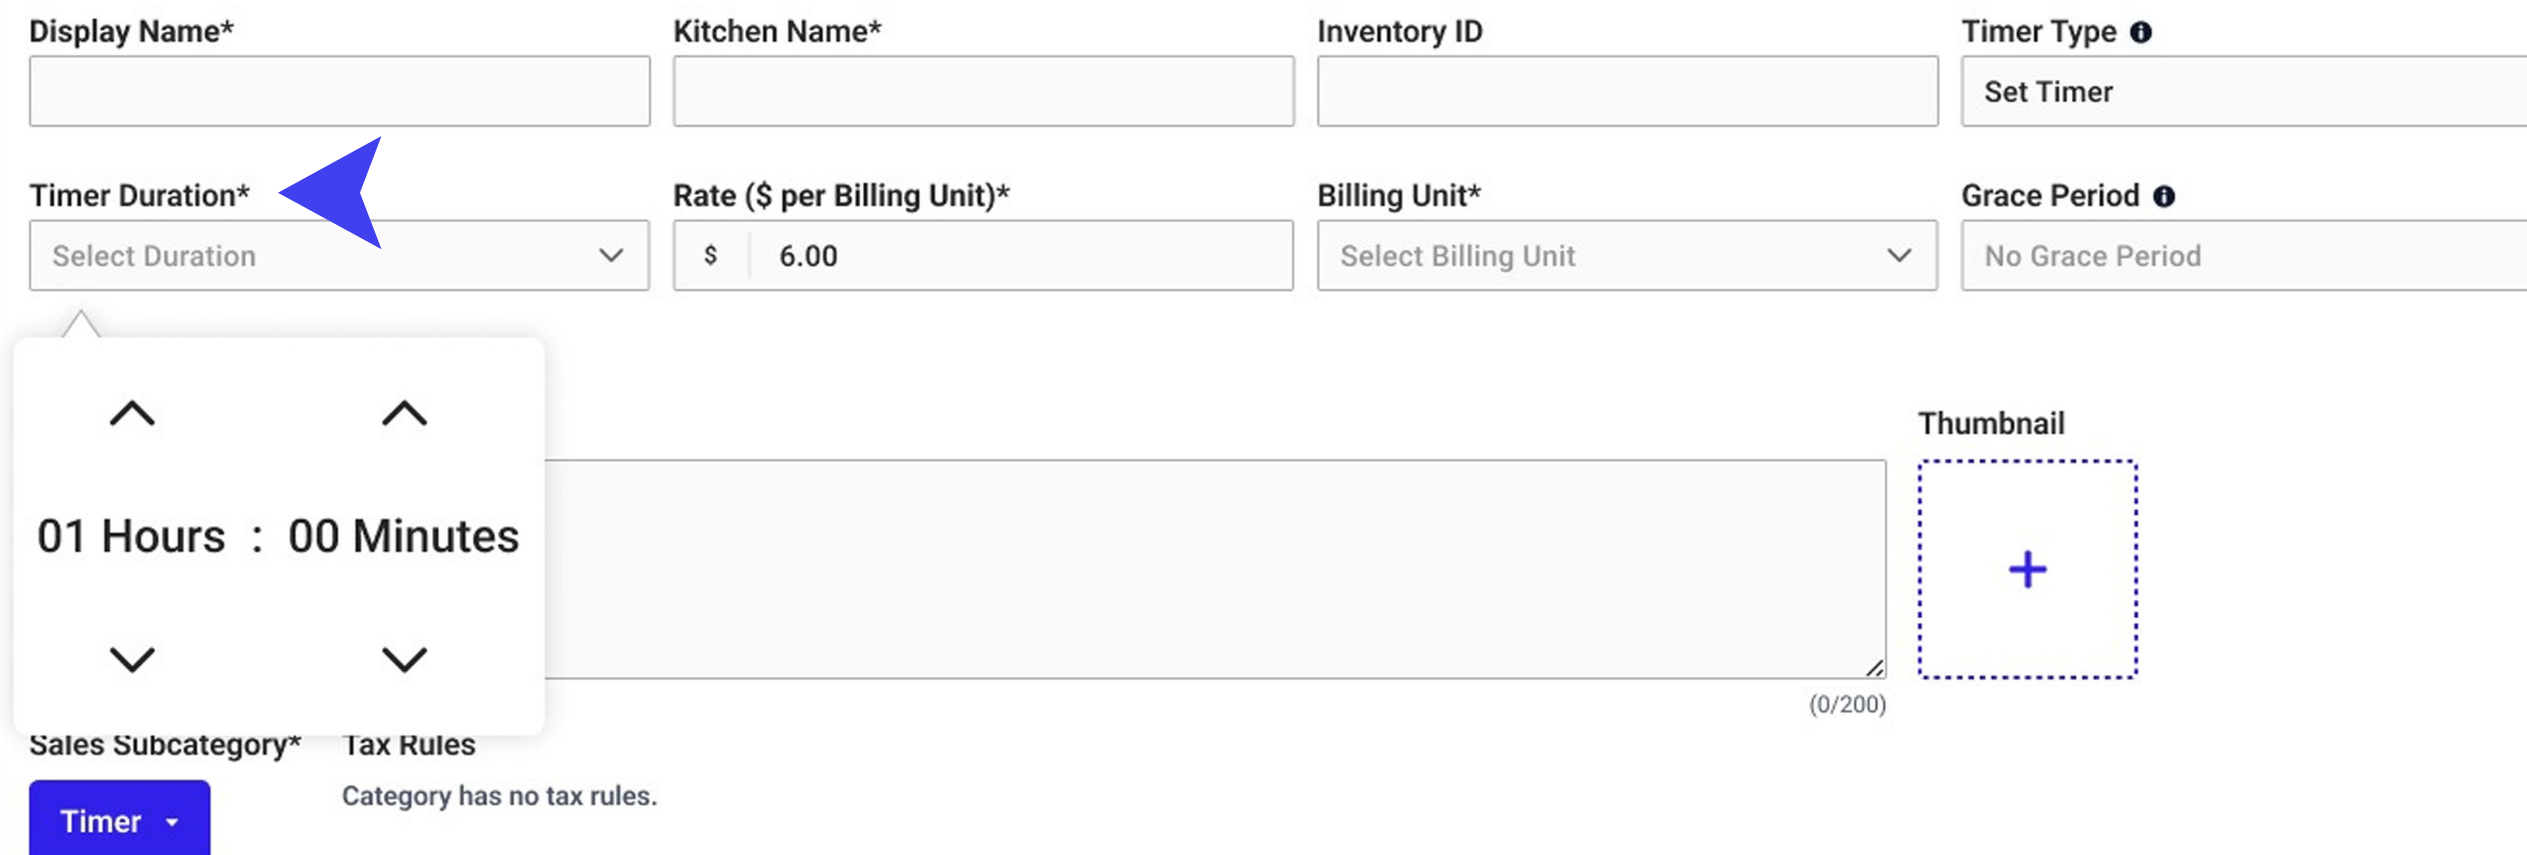
Rate, billing unit, and proration fields
5

Add a grace period

Optional. Gives guests 1 to 10 free minutes before billing starts, so there's no charge for the time it takes to settle in.

Skip this if the activity should start billing the moment the timer is started.
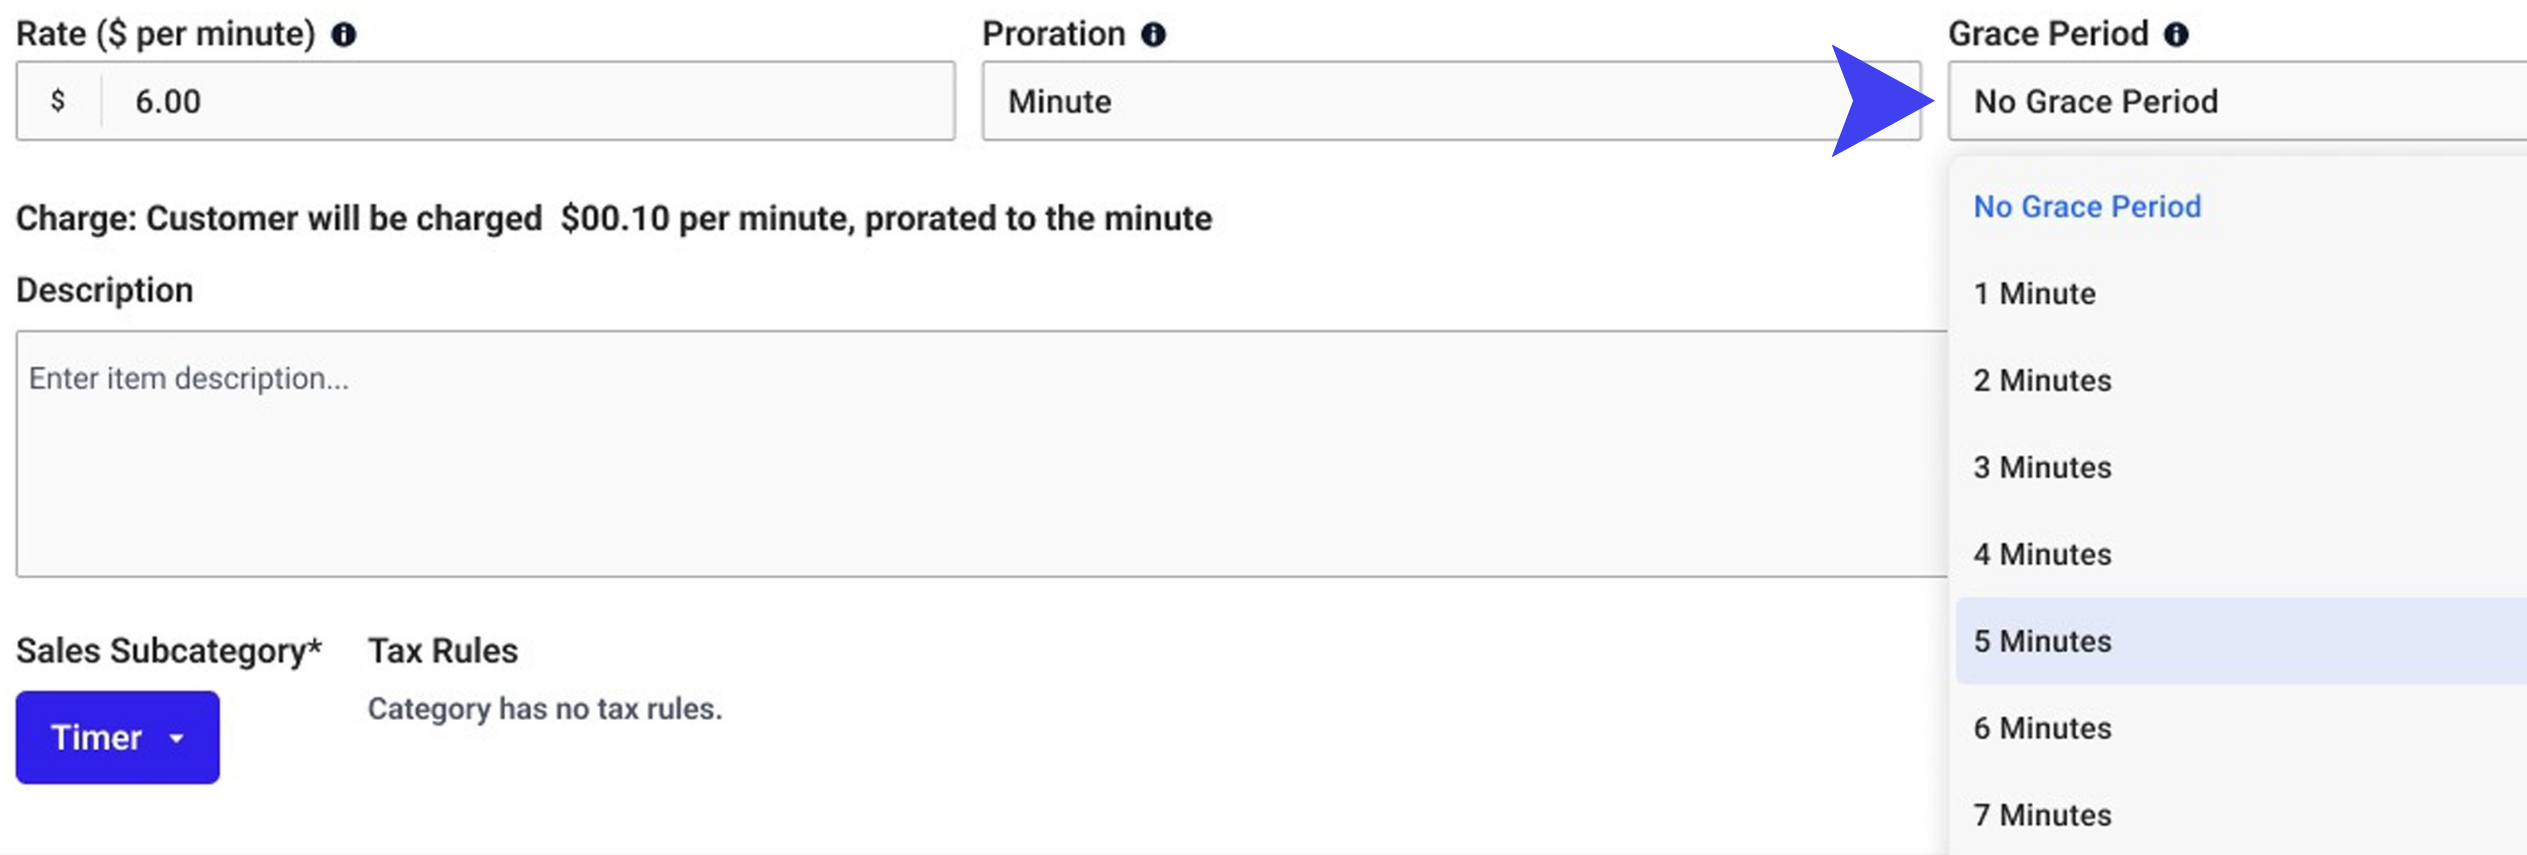
Grace period field
6

Check the Charge summary, then publish

Confirm the plain English Charge preview matches what you intend to bill, then select Save and Publish to the POS.

Staff see the new item, and the Timers screen, right away. Nothing else to configure.
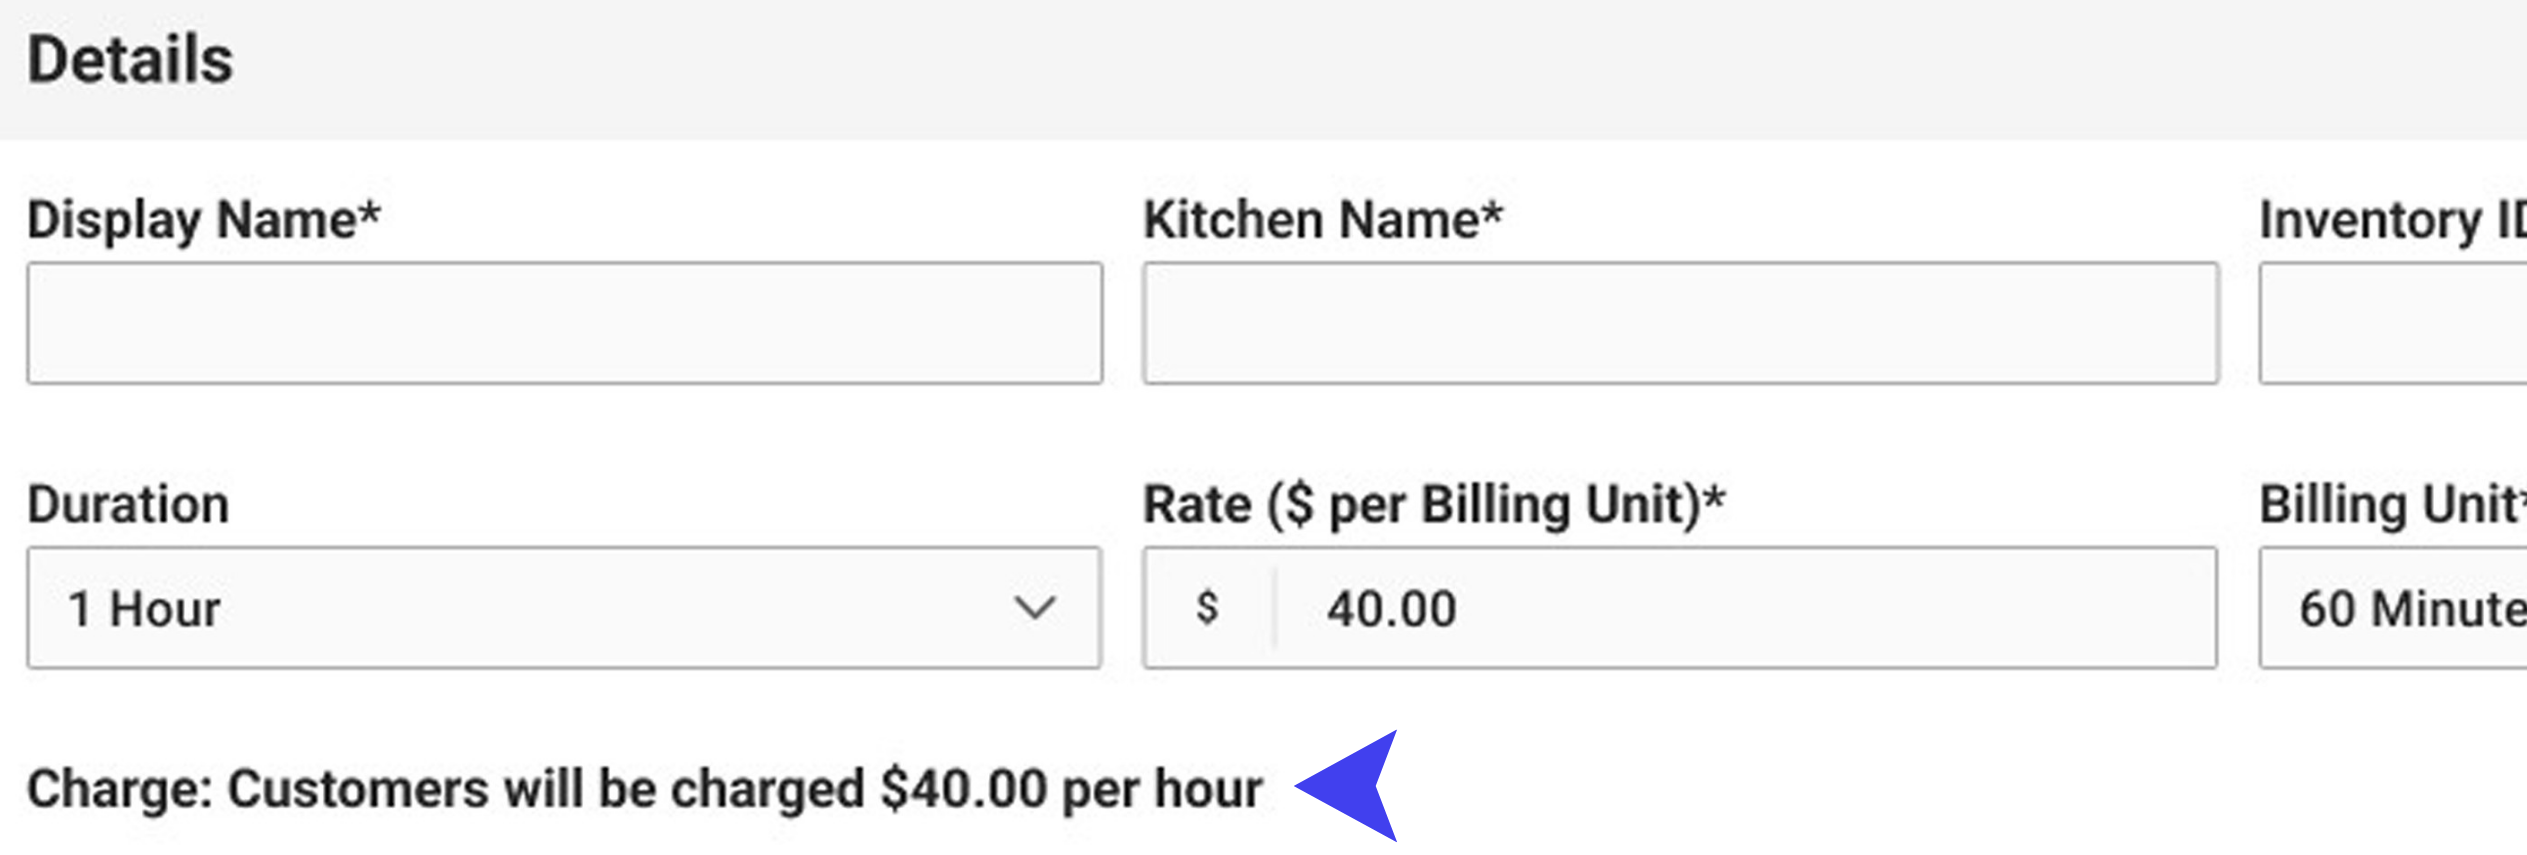
Charge summary and Publish to the POS
Resource Hub

FAQ

Common questions on billing, editing a timer, and what happens at end of day.

View →

Walkthrough Video

See Timers running live on the POS, from start to end of session.

Watch →

Ask a Question

Got something quick? Email the team directly.

Email →

Ready to turn it on?

Head to Item Management in your Manager Portal to set up your first timer.

Go to Item Management →